
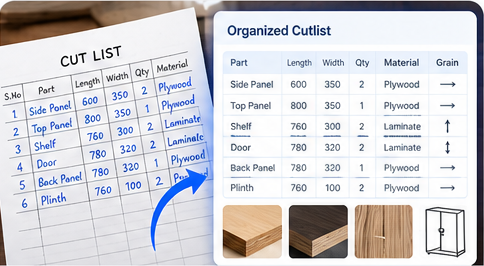
Whether you cut in-house or send it out for job work, everything starts with the cutlist. Get it clean and the rest is easy; leave it vague and you pay for it in wrong cuts and wasted sheets.
What every cutlist needs
Seven columns cover almost every job:
| Column | Example |
|---|---|
| Part name | Side panel |
| Length (mm) | 720 |
| Width (mm) | 550 |
| Qty | 2 |
| Material & thickness | 18 mm MR ply |
| Finish (& side) | Laminate — 1 side |
| Grain direction | Along length |
One row per part, grouped by material and thickness. That's it.
State whether sizes are finished or cut sizes. "Finished size" (after edge banding) vs "cut size" is the single ambiguity that causes the most rework — write which one you mean at the top of the sheet.
Common mistakes that cause rework
- Mixing units — some rows in inches, some in mm. Pick millimetres and stick to it.
- No thickness — 6 mm backs and 18 mm carcass parts must be separated, or they can't be planned onto the right boards.
- No grain direction — forces a re-cut when a part comes out running the wrong way (more on why direction matters).
- Vague material names — "ply" isn't enough; note grade and brand if it matters.
A format that works everywhere
Keep it in Excel or a simple CSV with exactly those columns — no merged cells, no notes in the number columns. That way it drops straight into an optimizer without cleanup. Copy the seven columns above into a sheet and you have your template; if you'd like the ready-made Excel version, ask and we'll send it.
Send your cutlist, get the material plan
Fill in the template, then send it over. We'll return the optimized board and laminate count. Free, no obligation.
Share your cutlistTakes 2 minutes · We reply on phone or email within 24 hours